





Trust Roofing Installation Standards
2.11 Installing Hurricane Clips, Gusset Angles, and Straps
How to install hurricane clips, gusset angles, and rafter straps to meet Florida wind mitigation requirements and strengthen the roof-to-wall connection.

Roofing work involves working at height and requires proper safety equipment and training. The information in this course is intended for educational purposes. Homeowners should consult a licensed roofing professional before attempting roof repairs or modifications.


Other Courses
Overview
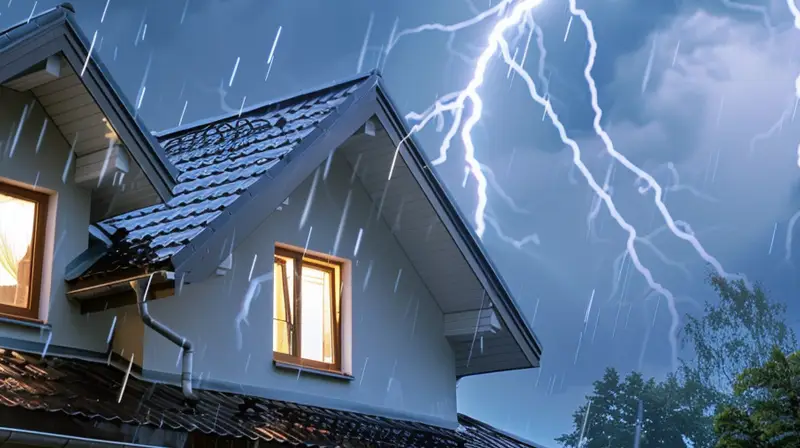
Florida's hurricane risk makes wind mitigation one of the most important aspects of a residential roofing system. Hurricane clips, gusset angles, and rafter straps connect the roof structure to the exterior walls — and they are what keeps a roof on a home in high-wind conditions.At Trust Roofing, installing hurricane connectors correctly is part of our commitment to building roofs that protect Tampa Bay homes.
Our Field Standards
Hurricane connector installation follows Florida building code and Trust Roofing field standards.Field standards include:* Connectors are installed at every rafter-to-top-plate connection when required by the project scope* The correct connector type is used for the rafter size and spacing on the project* Fastening follows the manufacturer’s specification for nail count and size* All installed connectors are photographed before any covering material is applied* Existing connectors that are damaged or missing are documented and reported
Our Process
Types of ConnectorsHurricane ClipsInstalled where rafter meets the top plate of the exterior wall — resist wind uplift forces.Gusset AnglesFlat steel plates installed at the rafter and wall plate junction — provide shear resistance.Rafter StrapsRun over the top of the rafter and down each side of the wall plate — resist both uplift and lateral movement.Installation Process1. Position the connector at the rafter-to-plate connection per manufacturer diagram2. Drive all required nails through the connector flange into both the rafter and plate3. Confirm the connector is flush and seated correctly4. Work in order down the roof to avoid skipping connectionsCommon Errors* Too few nails in the connector flanges* Wrong connector type for the rafter size* Skipping connections — creates weak points* Bending or notching connectors to fit — use the correct size
Roofing Terms
Hurricane Clip
A metal connector fastener installed at the rafter-to-top-plate connection point to resist wind uplift forces, required for Florida wind mitigation compliance and one of the primary components documented in a wind mitigation inspection.
Wind Mitigation Report
A formal inspection report completed by a licensed Florida inspector documenting the wind-resistant features of a roofing system, including connector type, roof covering, and deck attachment, used to qualify for insurance discounts.
Florida Building Code Wind Requirements
FBC requirements for roof-to-wall connection hardware based on the wind speed design zone, most of Tampa Bay falls within a zone requiring rated hurricane connectors at every rafter connection.
Rafter Strap
A metal strap installed over the rafter and down each side of the wall plate to resist both uplift and lateral wind forces, used in addition to or instead of hurricane clips depending on the connection geometry.
Wind Uplift
The upward force exerted by wind on a roof surface during a storm, the primary structural failure mechanism in Florida hurricanes, resisted by correct deck fastening, roofing installation, and structural connectors.
Need more help?
We've built a library of resources for homeowners, property managers, and those looking for roofing help.
View Resources