
















Trust Roofing Installation Standards
3.10 How to Install Hip and Ridge Cap Shingles
How to properly install hip and ridge cap shingles for a clean, weather-tight finish at the highest points of a shingle roof.

Roofing work involves working at height and requires proper safety equipment and training. The information in this course is intended for educational purposes. Homeowners should consult a licensed roofing professional before attempting roof repairs or modifications.



Other Courses
Overview
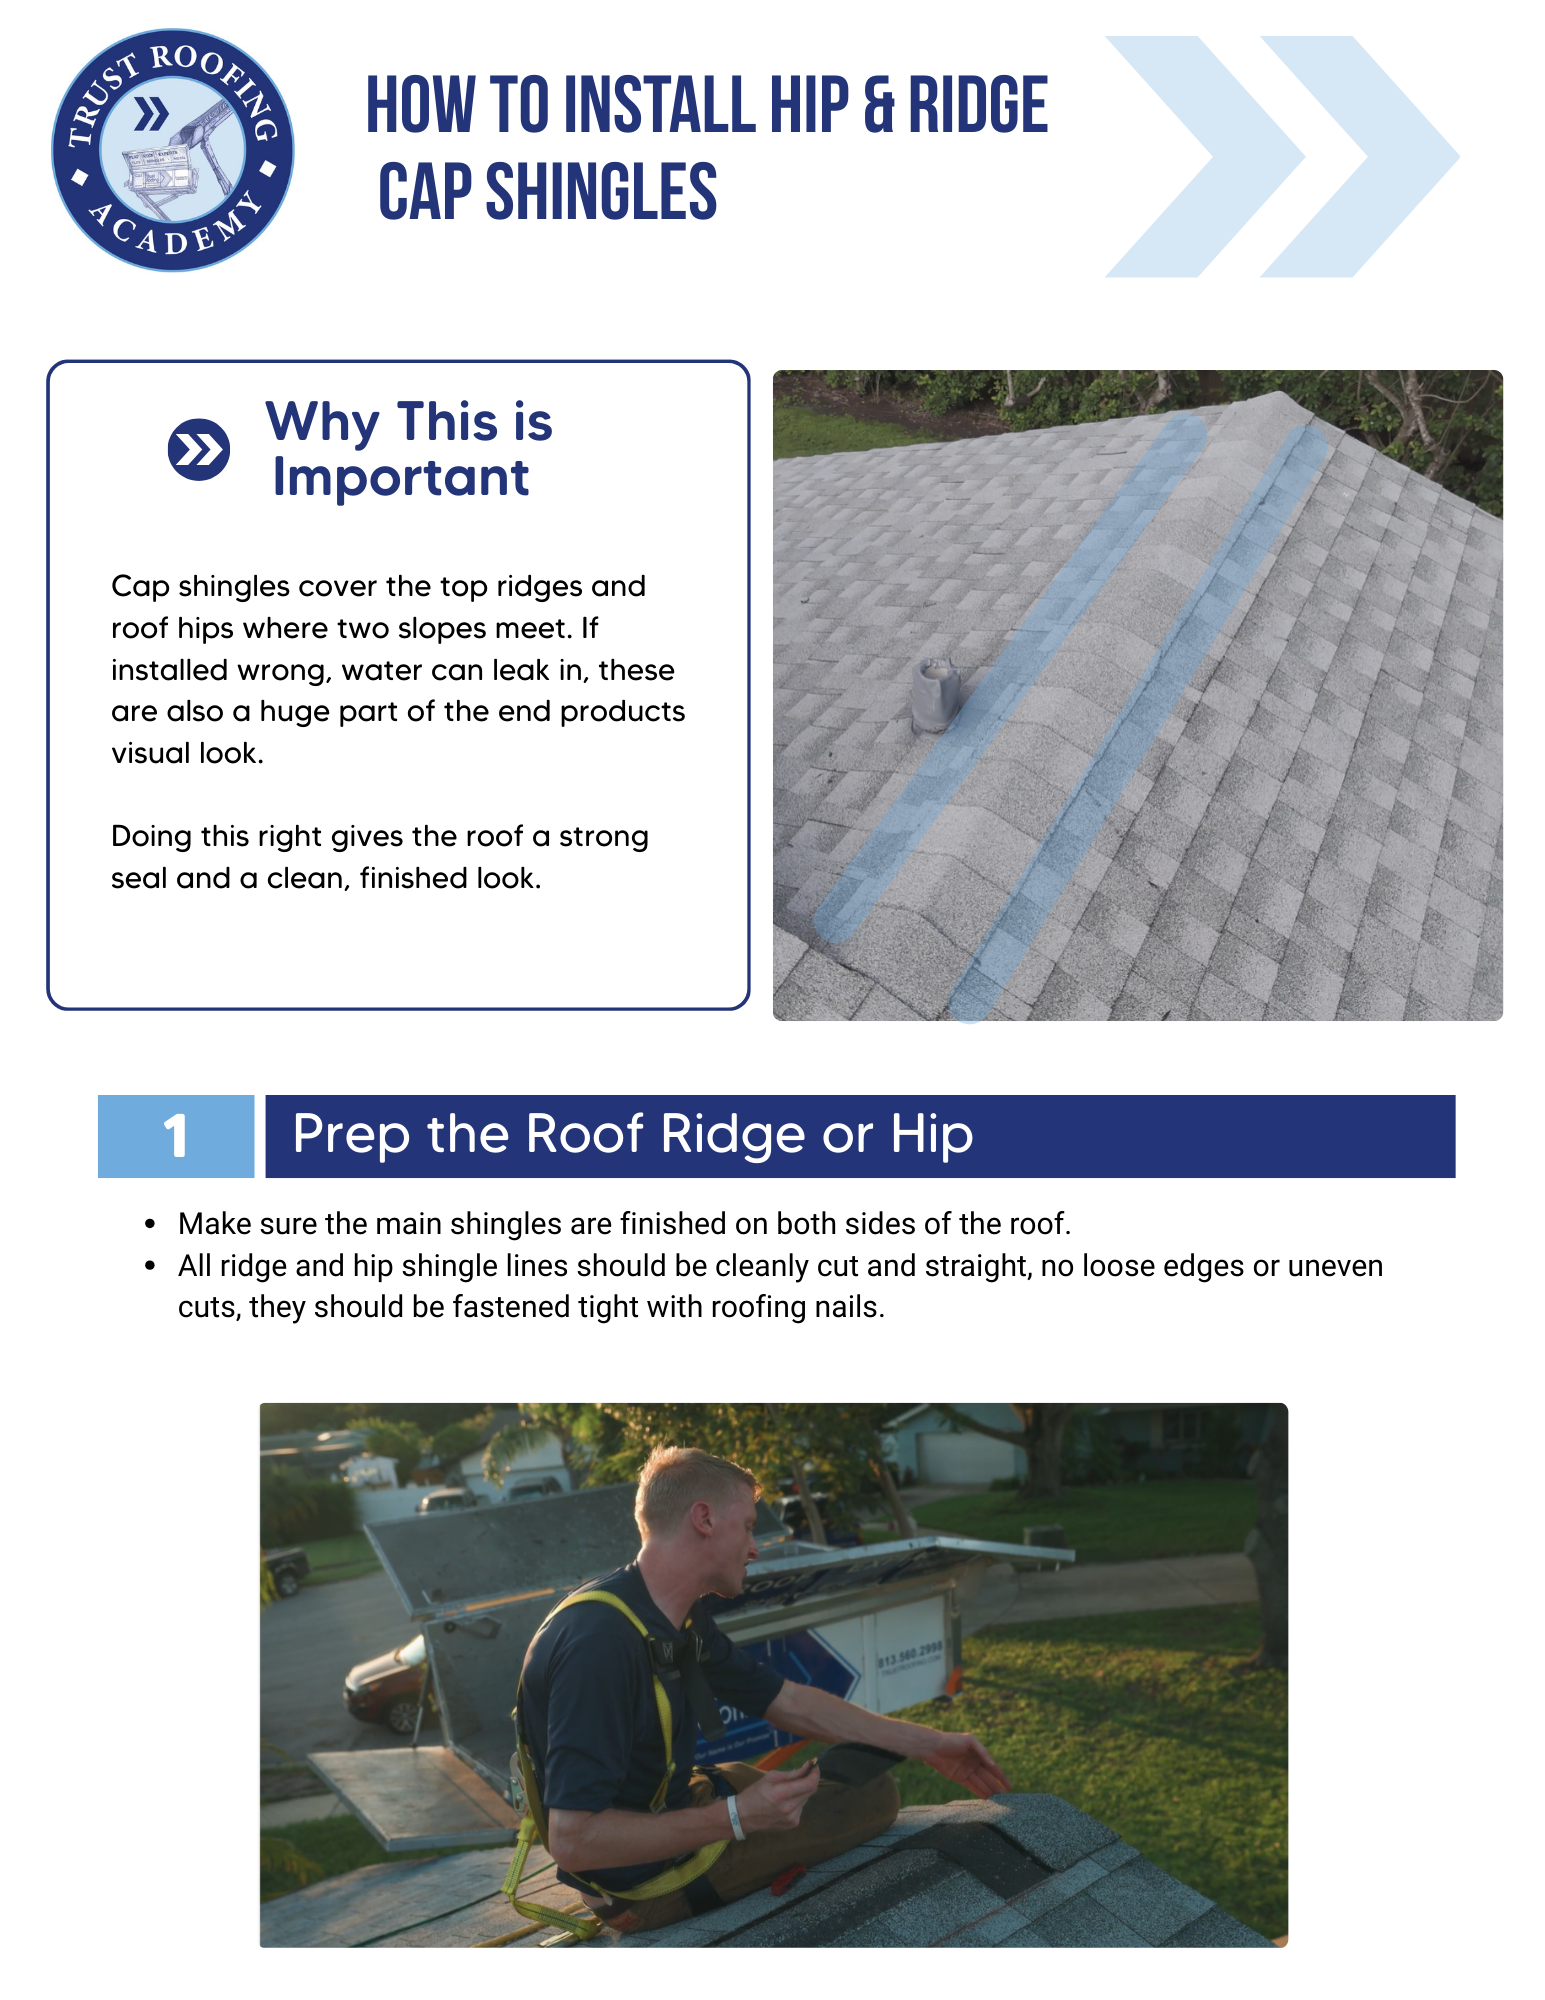
Hip and ridge cap shingles are the finishing elements of a shingle roofing system — installed at the highest points of the roof where two slopes meet. They are also among the most exposed areas and the first place that fails if installed incorrectly.Properly installed hip and ridge cap protects the roof from wind uplift at the peak, seals the top edges of the field shingles, and provides a clean, finished appearance to the completed roofing system.
Our Field Standards
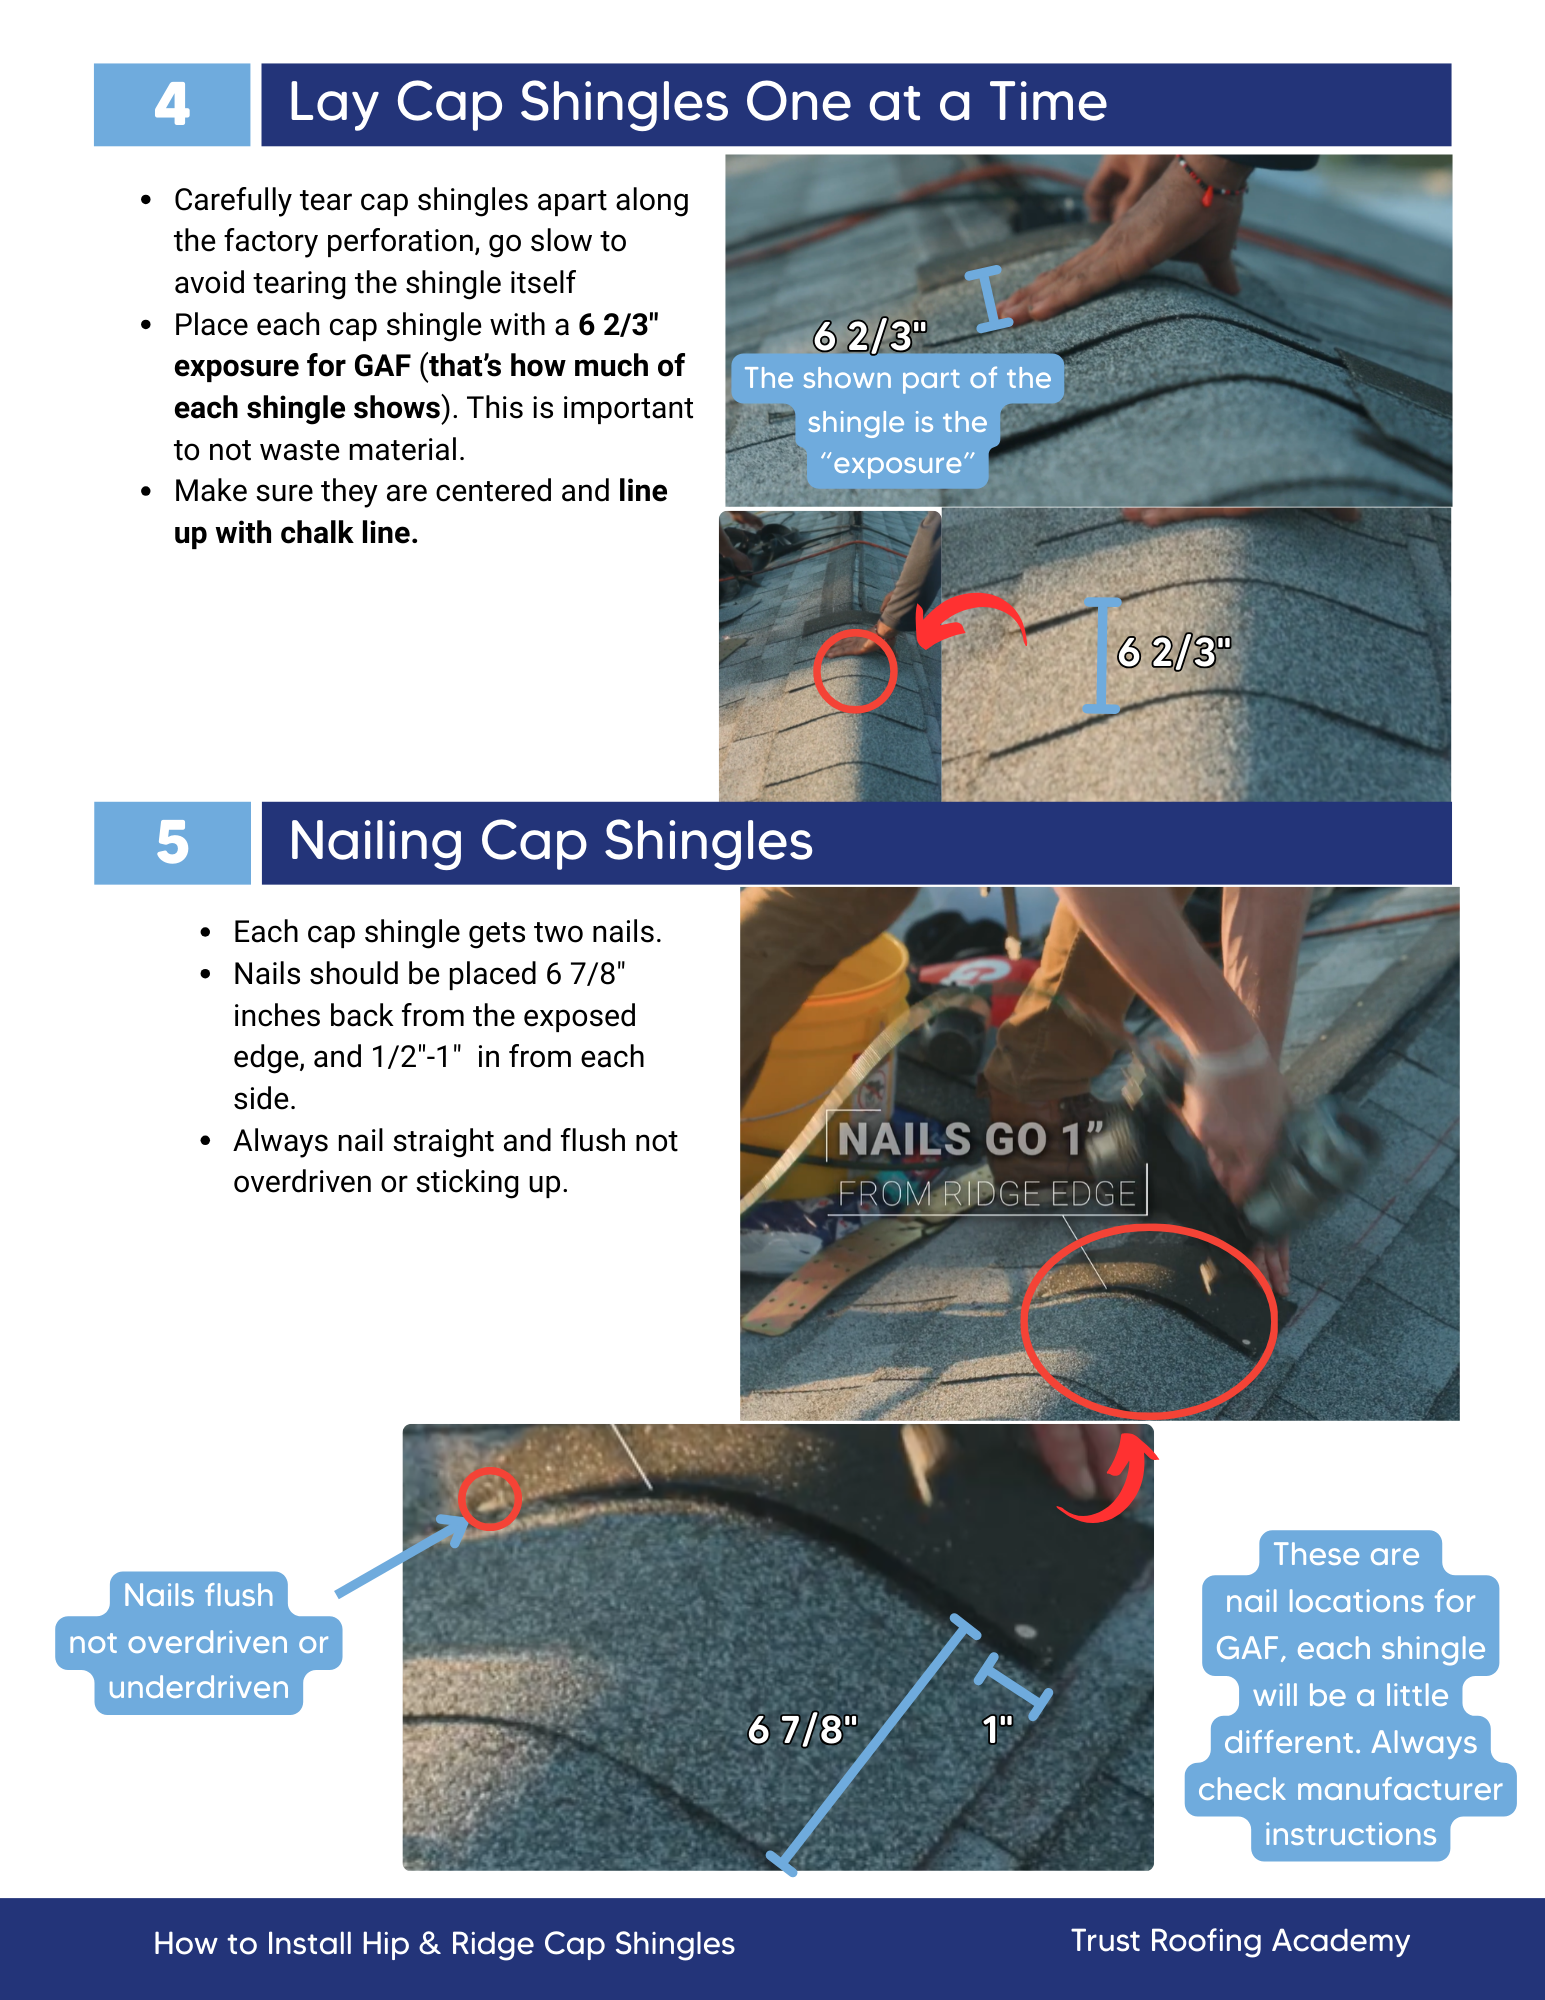
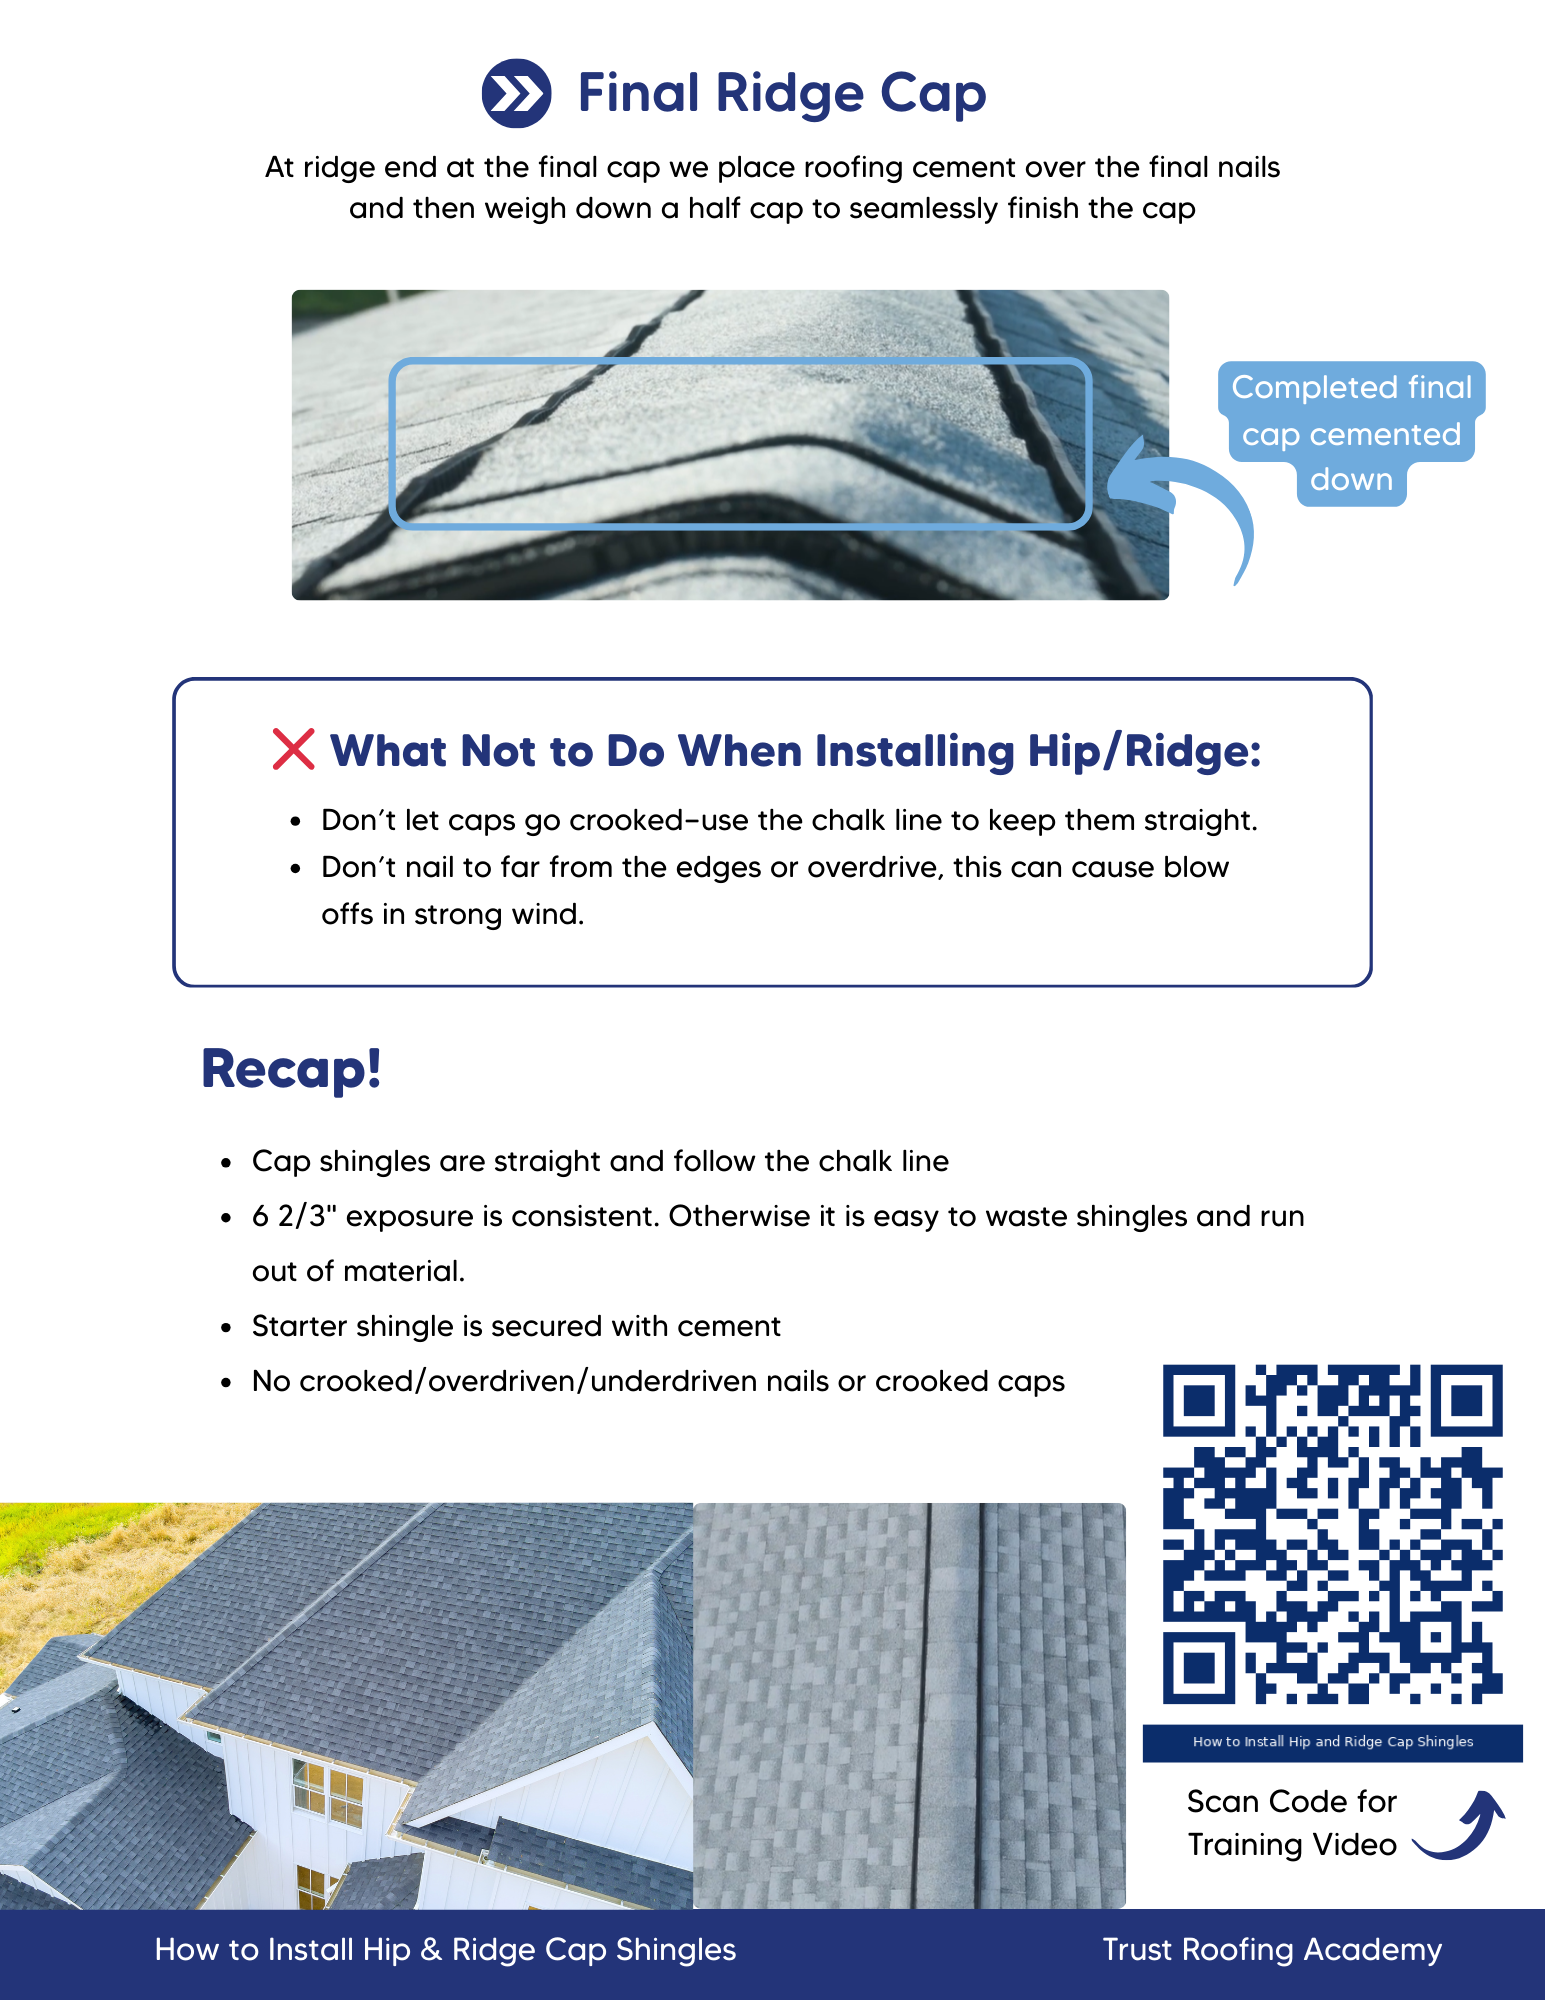
Hip and ridge cap installation follows Trust Roofing field standards.Field standards include:* Pre-manufactured ridge cap shingles are used on all Trust Roofing projects* Ridge cap is installed beginning at the end opposite the prevailing wind direction* Nails are driven below the seal strip at the manufacturer-specified location* Exposure matches manufacturer specifications — typically 5 to 6 inches* The final cap at the ridge peak is nailed and sealed with roofing cement* Hip ridge cap begins at the eave and works upward toward the ridge intersection
Our Process
Preparing the Ridge* Confirm all field shingles are complete and the ridge edge is trimmed neatly* Remove any excess material that would create a bump under the ridge cap* Snap a chalk line along the center of the ridge as a guideInstalling Hip Ridge CapHip cap is installed first, beginning at the eave:1. Start at the eave end of the hip2. Install cap shingles working up toward the ridge intersection3. Maintain consistent exposure up the full length4. The last hip cap piece is cut flush at the ridge intersectionInstalling Ridge CapRidge cap begins at the end opposite the prevailing wind:1. Position the first piece so the wind pushes subsequent pieces down — not under2. Drive nails below the seal strip3. Maintain consistent exposure — typically 5 to 6 inches4. At the final peak piece: nail and seal the exposed nail heads with roofing cementCommon Errors* Starting from the wrong end — prevailing wind will lift the cap* Nailing above the seal strip — creates exposed nail heads* Uneven exposure — creates a wavy appearance on the ridge line
Roofing Terms
Ridge Cap
Pre-manufactured shingles designed specifically for installation at the peak of a sloped roof, thicker than field shingles, pre-bent to conform to the ridge angle, and required on all Trust Roofing shingle projects.
Hip
The inclined external angle formed at the junction of two sloping roof planes, runs from the eave to the main ridge and requires hip cap shingles installed from eave to ridge intersection before main ridge cap is applied.
Prevailing Wind
The predominant wind direction for a region, in Tampa Bay, typically from the south or southeast. Ridge cap installation must begin at the end opposite the prevailing wind so that wind presses each cap shingle down rather than lifting it.
Florida Wind Uplift at Ridge
The ridge is the most exposed area of a shingle roof and is subject to the highest wind uplift forces during a storm, correct nail placement below the seal strip and correct installation direction are critical for wind resistance in Florida.
Seal Strip
The factory-applied adhesive band on ridge cap and field shingles that bonds the overlying shingle to the one below, activated by solar heat in Florida’s climate and essential for wind uplift resistance at the ridge.
Need more help?
We've built a library of resources for homeowners, property managers, and those looking for roofing help.
View Resources