













Trust Roofing Installation Standards
3.04 Installing Rolled Shingle Starter Strip
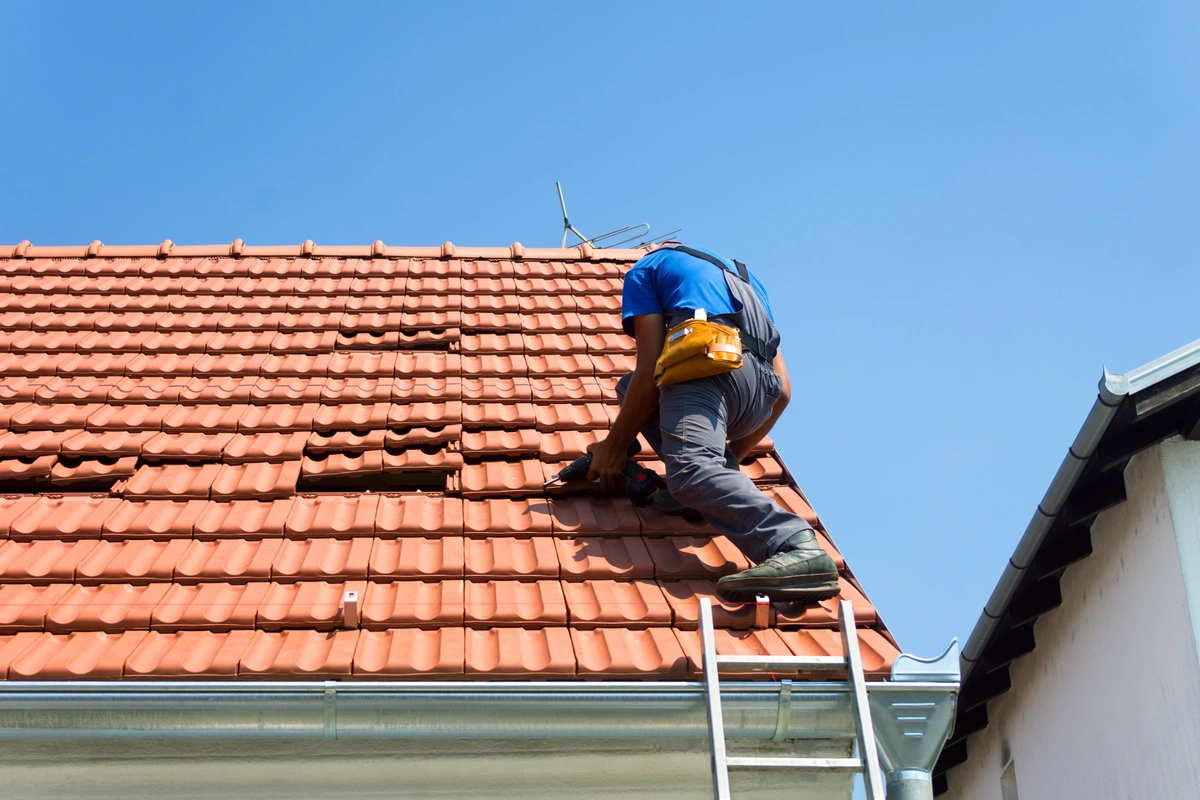
How to correctly install rolled starter strip along the eave and rake edge to seal the first course of shingles and prevent wind uplift.

Roofing work involves working at height and requires proper safety equipment and training. The information in this course is intended for educational purposes. Homeowners should consult a licensed roofing professional before attempting roof repairs or modifications.


Other Courses
Overview
The starter strip is the first course of material installed along the eave and rake edges of a roof. Its purpose is to provide a solid base layer that seals the exposed edges of the first field shingle course and prevents wind uplift at the most vulnerable point of the roofing system.Rolled starter strip is used on most Trust Roofing projects for its consistency. This training covers the correct installation of rolled starter strip.
Our Field Standards
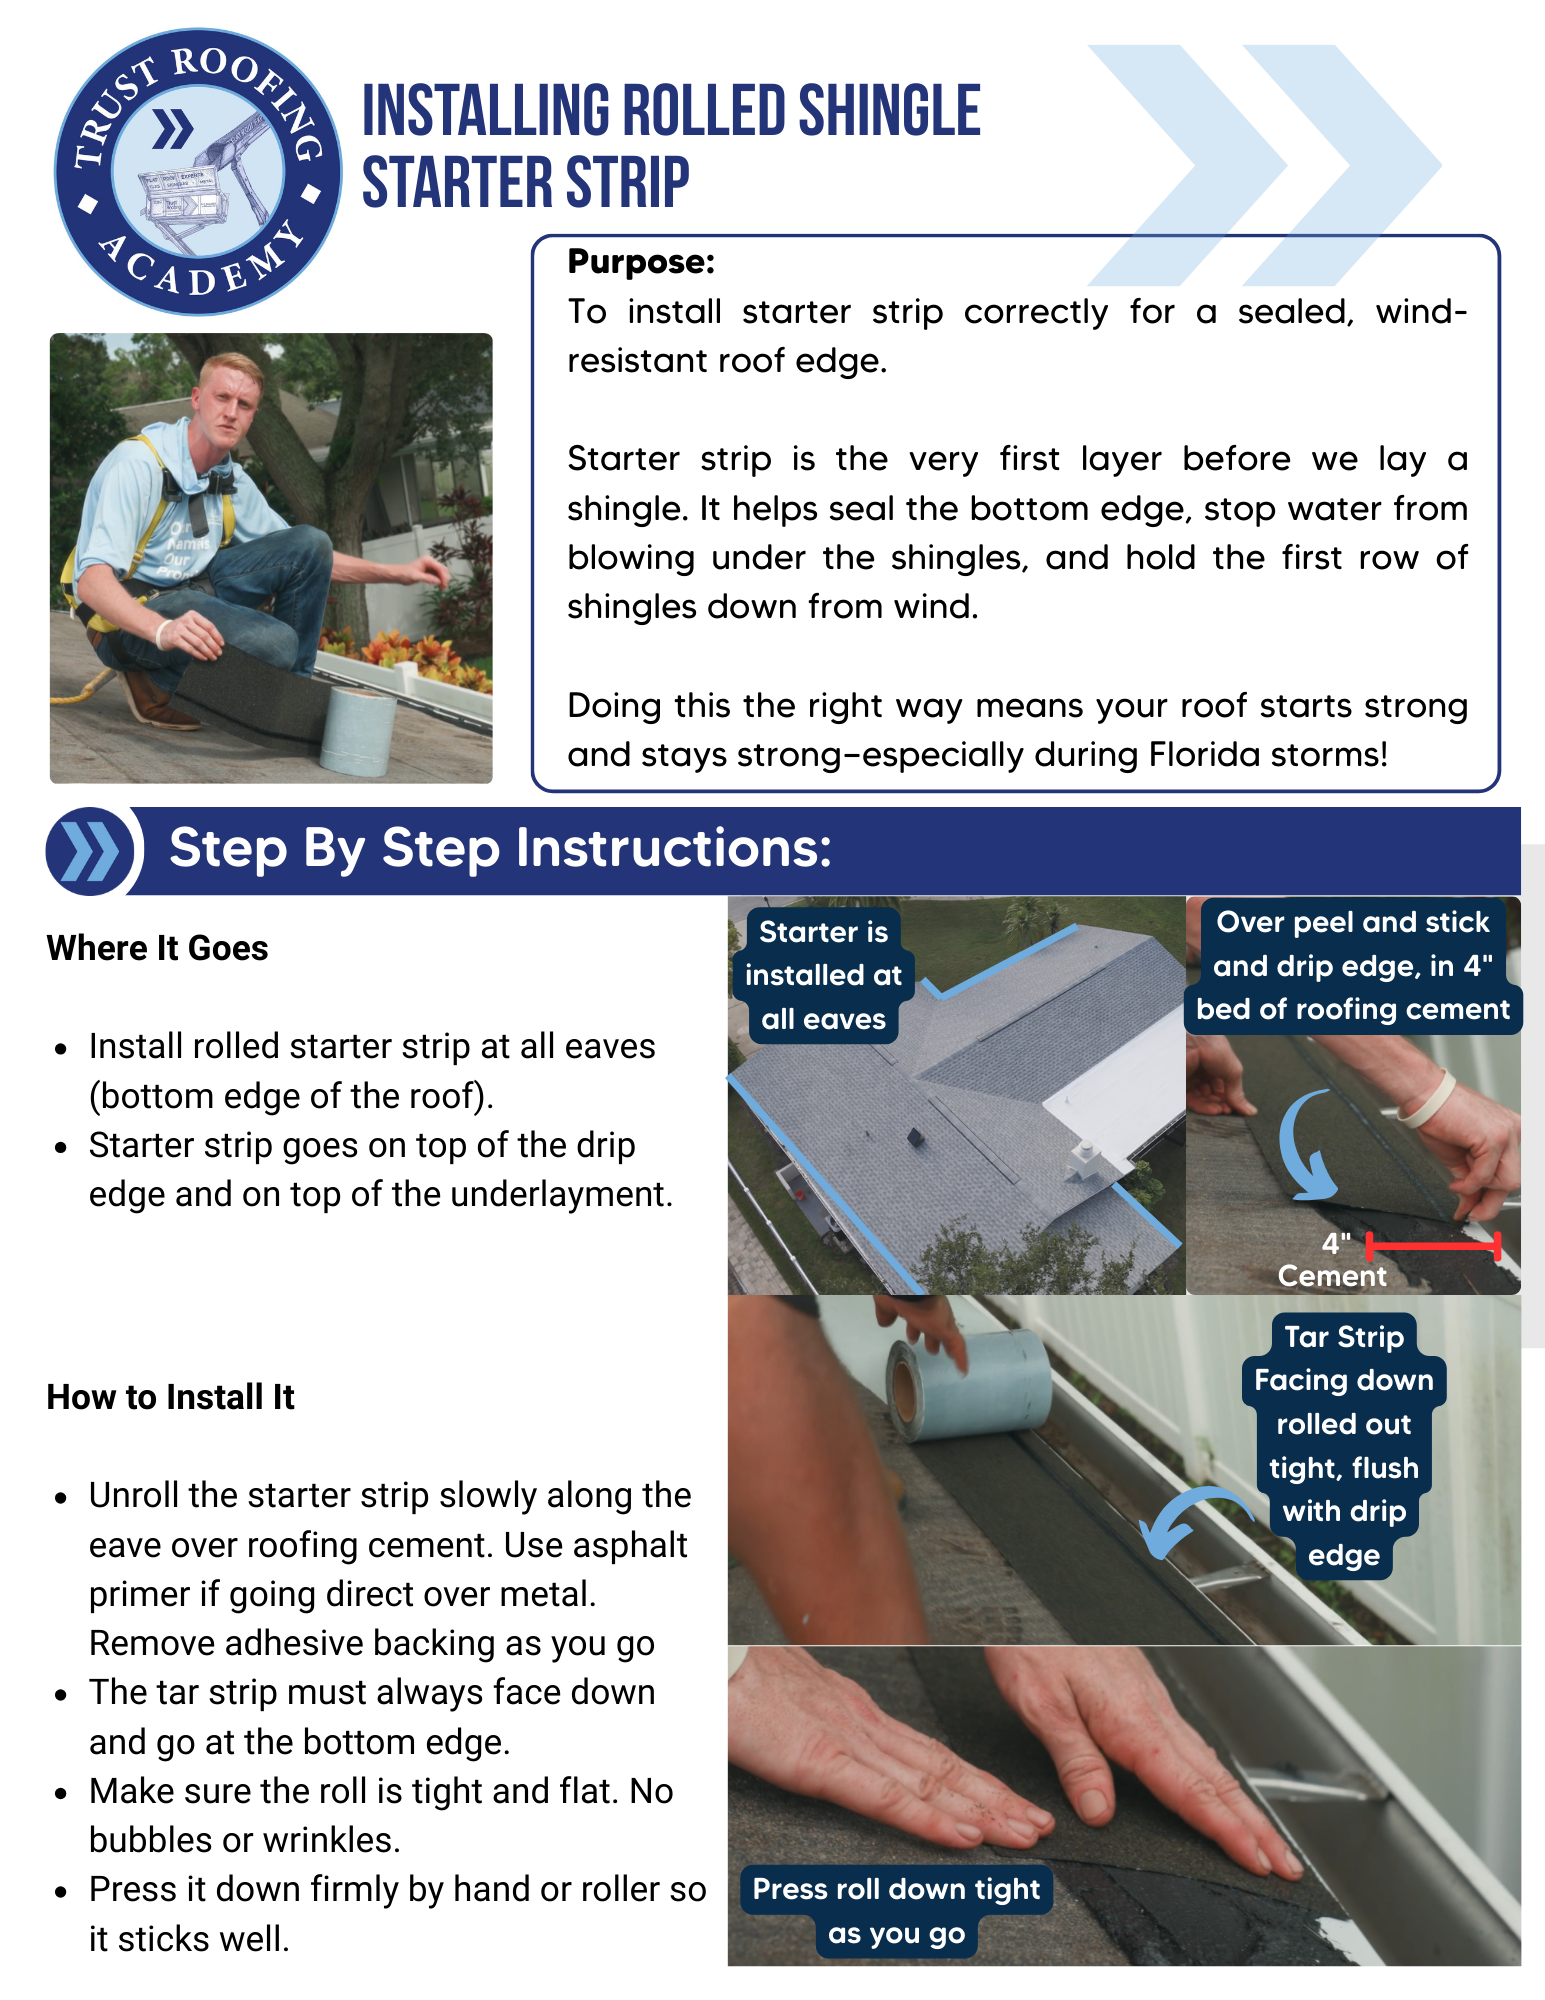
Starter strip installation follows specific Trust Roofing field standards.Field standards include:* Starter strip is installed along all eave edges before any field shingles are applied* Rake edges receive starter strip on high-wind projects or per manufacturer requirement* The product is installed with the sealant strip positioned at the eave edge — facing downward* The starter course overhangs the drip edge by 0.25 to 0.375 inches* Joints in the starter strip are staggered from field shingle joints above* Fastening follows the manufacturer’s specification for nail placement and spacing
Our Process
Preparing for Starter Installation* Confirm drip edge is in place along the eave* Confirm underlayment installation is complete* Snap a chalk line along the eave at the correct overhang measurementInstalling Starter Strip1. Unroll the starter strip along the eave edge2. Confirm the sealant strip is positioned at the bottom edge — facing toward the gutter3. Align the lower edge with the chalk line — overhang 0.25 to 0.375 inches past the drip edge4. Fasten with roofing nails 3 to 4 inches from the lower edge5. Stagger end joints — offset from the field shingle joints aboveRake Edge StarterOn high-wind projects:* Install starter strip along the rake edges as well* Position flush with the rake drip edge* The sealant strip faces the field shinglesCommon Errors* Installing the starter strip upside down — sealant strip must face the eave edge* Too much overhang — water will drip behind the gutter* Joints aligned with field shingle joints above — creates a weak seam
Roofing Terms
Starter Strip
A pre-cut roofing product installed along the eave and rake edges of a roof to provide a solid base for the first course of field shingles and seal the exposed lower edge of the roofing system.
Sealant Strip
The factory-applied adhesive band on roofing products, on starter strip it must face downward toward the eave edge so it bonds with the overlying field shingle above, sealing the eave edge against wind uplift.
Florida High-Wind Starter Requirement
In Tampa Bay’s high-wind zone, starter strip must be installed along both eave and rake edges per manufacturer specifications to provide adequate edge sealing and wind uplift resistance.
Wind Uplift Resistance
The ability of a roofing system to resist the upward forces exerted by wind during a storm, starter strip at the eave and rake edges is one of the first lines of defense against wind entry under the shingles.
Manufacturer Specification
The installation requirements published by the shingle manufacturer, Trust Roofing follows these requirements alongside Florida building code, and when they differ, the stricter standard governs.
Need more help?
We've built a library of resources for homeowners, property managers, and those looking for roofing help.
View Resources