







Trust Roofing Installation Standards
3.07 How to Install a Shingle Valley
How to install a California closed-cut valley on a shingle roof for a clean finished look with proper drainage and leak protection.

Roofing work involves working at height and requires proper safety equipment and training. The information in this course is intended for educational purposes. Homeowners should consult a licensed roofing professional before attempting roof repairs or modifications.


Other Courses
Overview
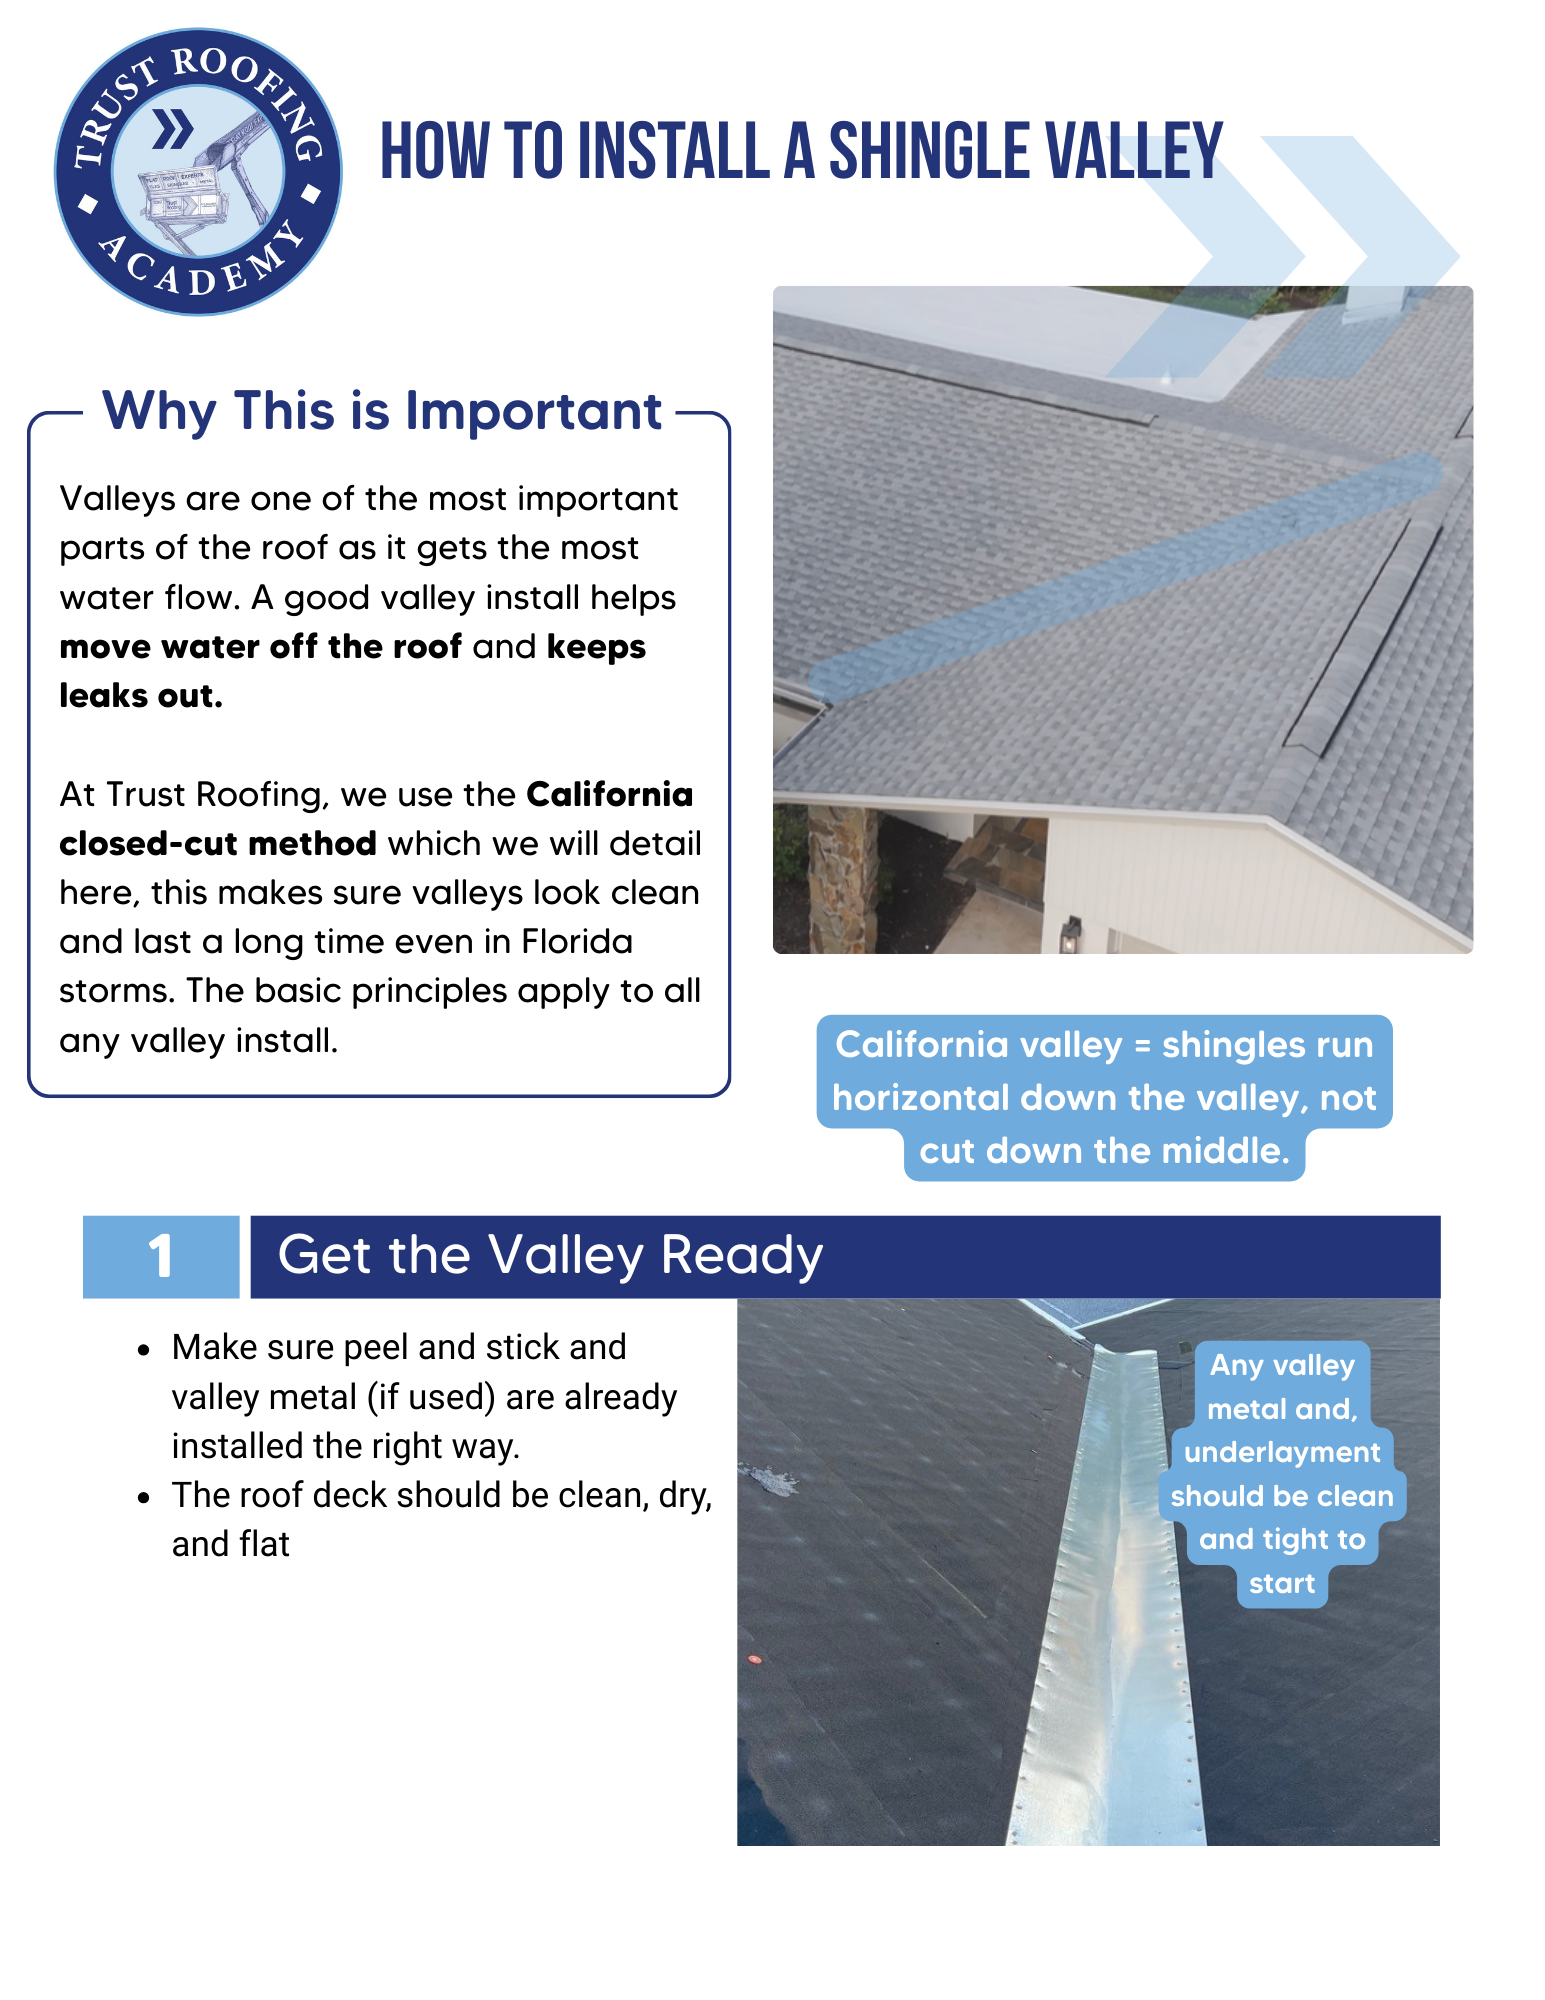
A shingle valley is one of the most detail-sensitive areas on any roof. Water concentrates in valleys and flows at high volume in a Florida rainstorm — a valley that is not installed correctly will leak.The California closed-cut valley is the Trust Roofing standard for shingle valleys. It provides superior waterproofing, a clean finished appearance, and excellent performance in Florida's high-rainfall conditions.
Our Field Standards
Shingle valley installation follows Trust Roofing field standards for closed-cut technique.Field standards include:* Valley metal or peel-and-stick is in place before any shingles are installed in the valley area* The first side of the valley runs shingles past the center line by at least 12 inches* The second side cuts back to a straight chalk line at least 2 inches from the valley center* The cut edge of second-side shingles is sealed with roofing cement on the underside* No nail is driven within 6 inches of the valley center line* The cut is made with a hook blade
Our Process
Preparing the Valley* Confirm valley metal or peel-and-stick underlayment is installed and photographed* Snap a reference chalk line along the center of the valley* Plan which side will be installed first — typically the less visible sideInstalling the First Side1. Run shingles from the first side, extending past the center line by at least 12 inches2. Clip the upper corner of each shingle at 45 degrees as you pass over the center3. Do not nail within 6 inches of the valley center on this sideInstalling the Second Side1. Run shingles from the second side, extending past the center line2. Snap a chalk line parallel to the valley center, at least 2 inches from it3. Cut the second-side shingles back to this line using a hook blade4. Apply roofing cement to the underside of the cut edge before pressing down5. Do not nail within 6 inches of the valley centerFinal Inspection* Run a hand along the cut edge — it should be tight and sealed* Check that the valley channel is clear and unobstructed* Confirm no nails are visible within 6 inches of the valley centerline
Roofing Terms
California Closed-Cut Valley
A shingle valley installation method where shingles from one side extend fully across the valley and the second-side shingles are cut back on a clean chalk line, the Trust Roofing standard for shingle valleys in Florida.
Hook Blade
A curved cutting blade preferred for cutting shingles in a valley, reduces the risk of cutting through the underlayment below while producing a clean, straight cut along the chalk line.
Valley Channel
The open area at the center of a shingle valley through which water flows, must be clear and unobstructed after installation, with no nails driven within 6 inches of the valley centerline.
Florida Rainfall Intensity
Tampa Bay receives some of the heaviest annual rainfall in the United States, valley installation quality is critical because valley failures during Florida storms are one of the most common sources of significant interior water damage.
Roofing Cement
An asphalt-based sealant applied to the underside of the cut edge of second-side valley shingles, seals the trimmed edge against water infiltration and wind uplift at the most water-concentrated area of the roof.
Need more help?
We've built a library of resources for homeowners, property managers, and those looking for roofing help.
View Resources