




Trust Roofing Installation Standards
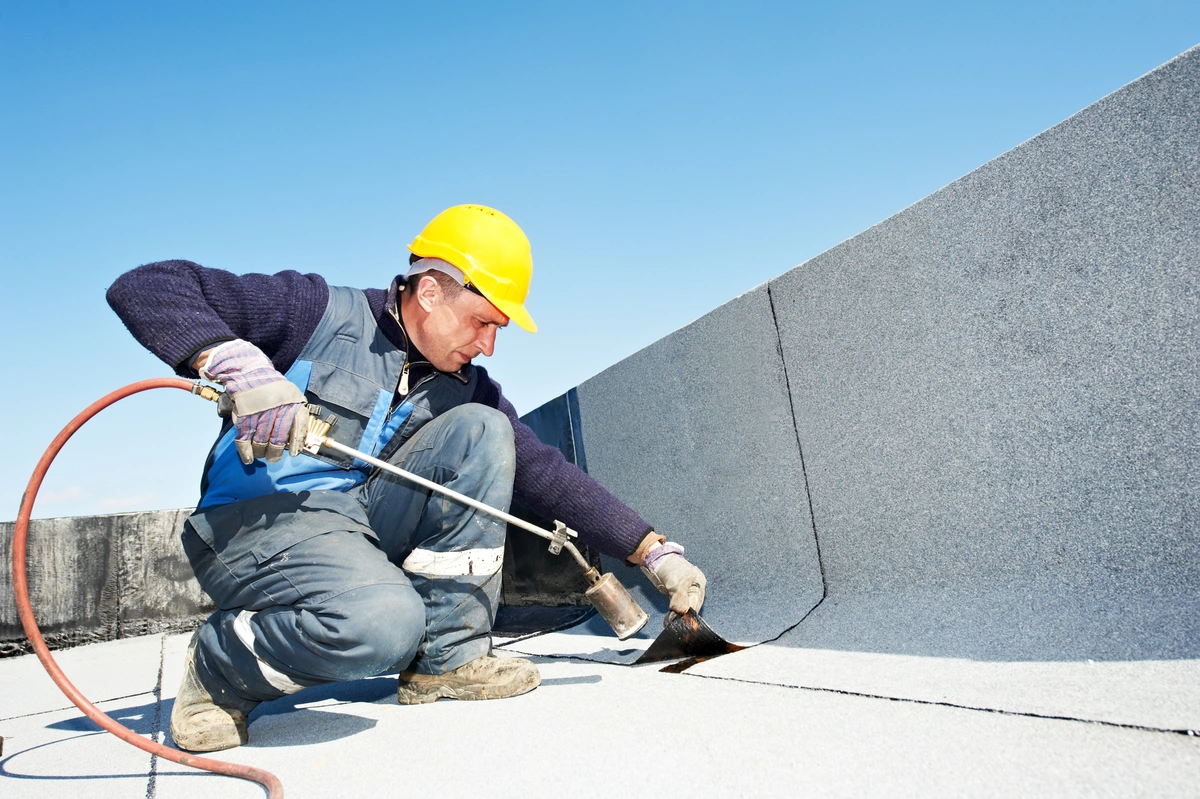
4.06 How to Weld TPO With a Robotic Heat Welder
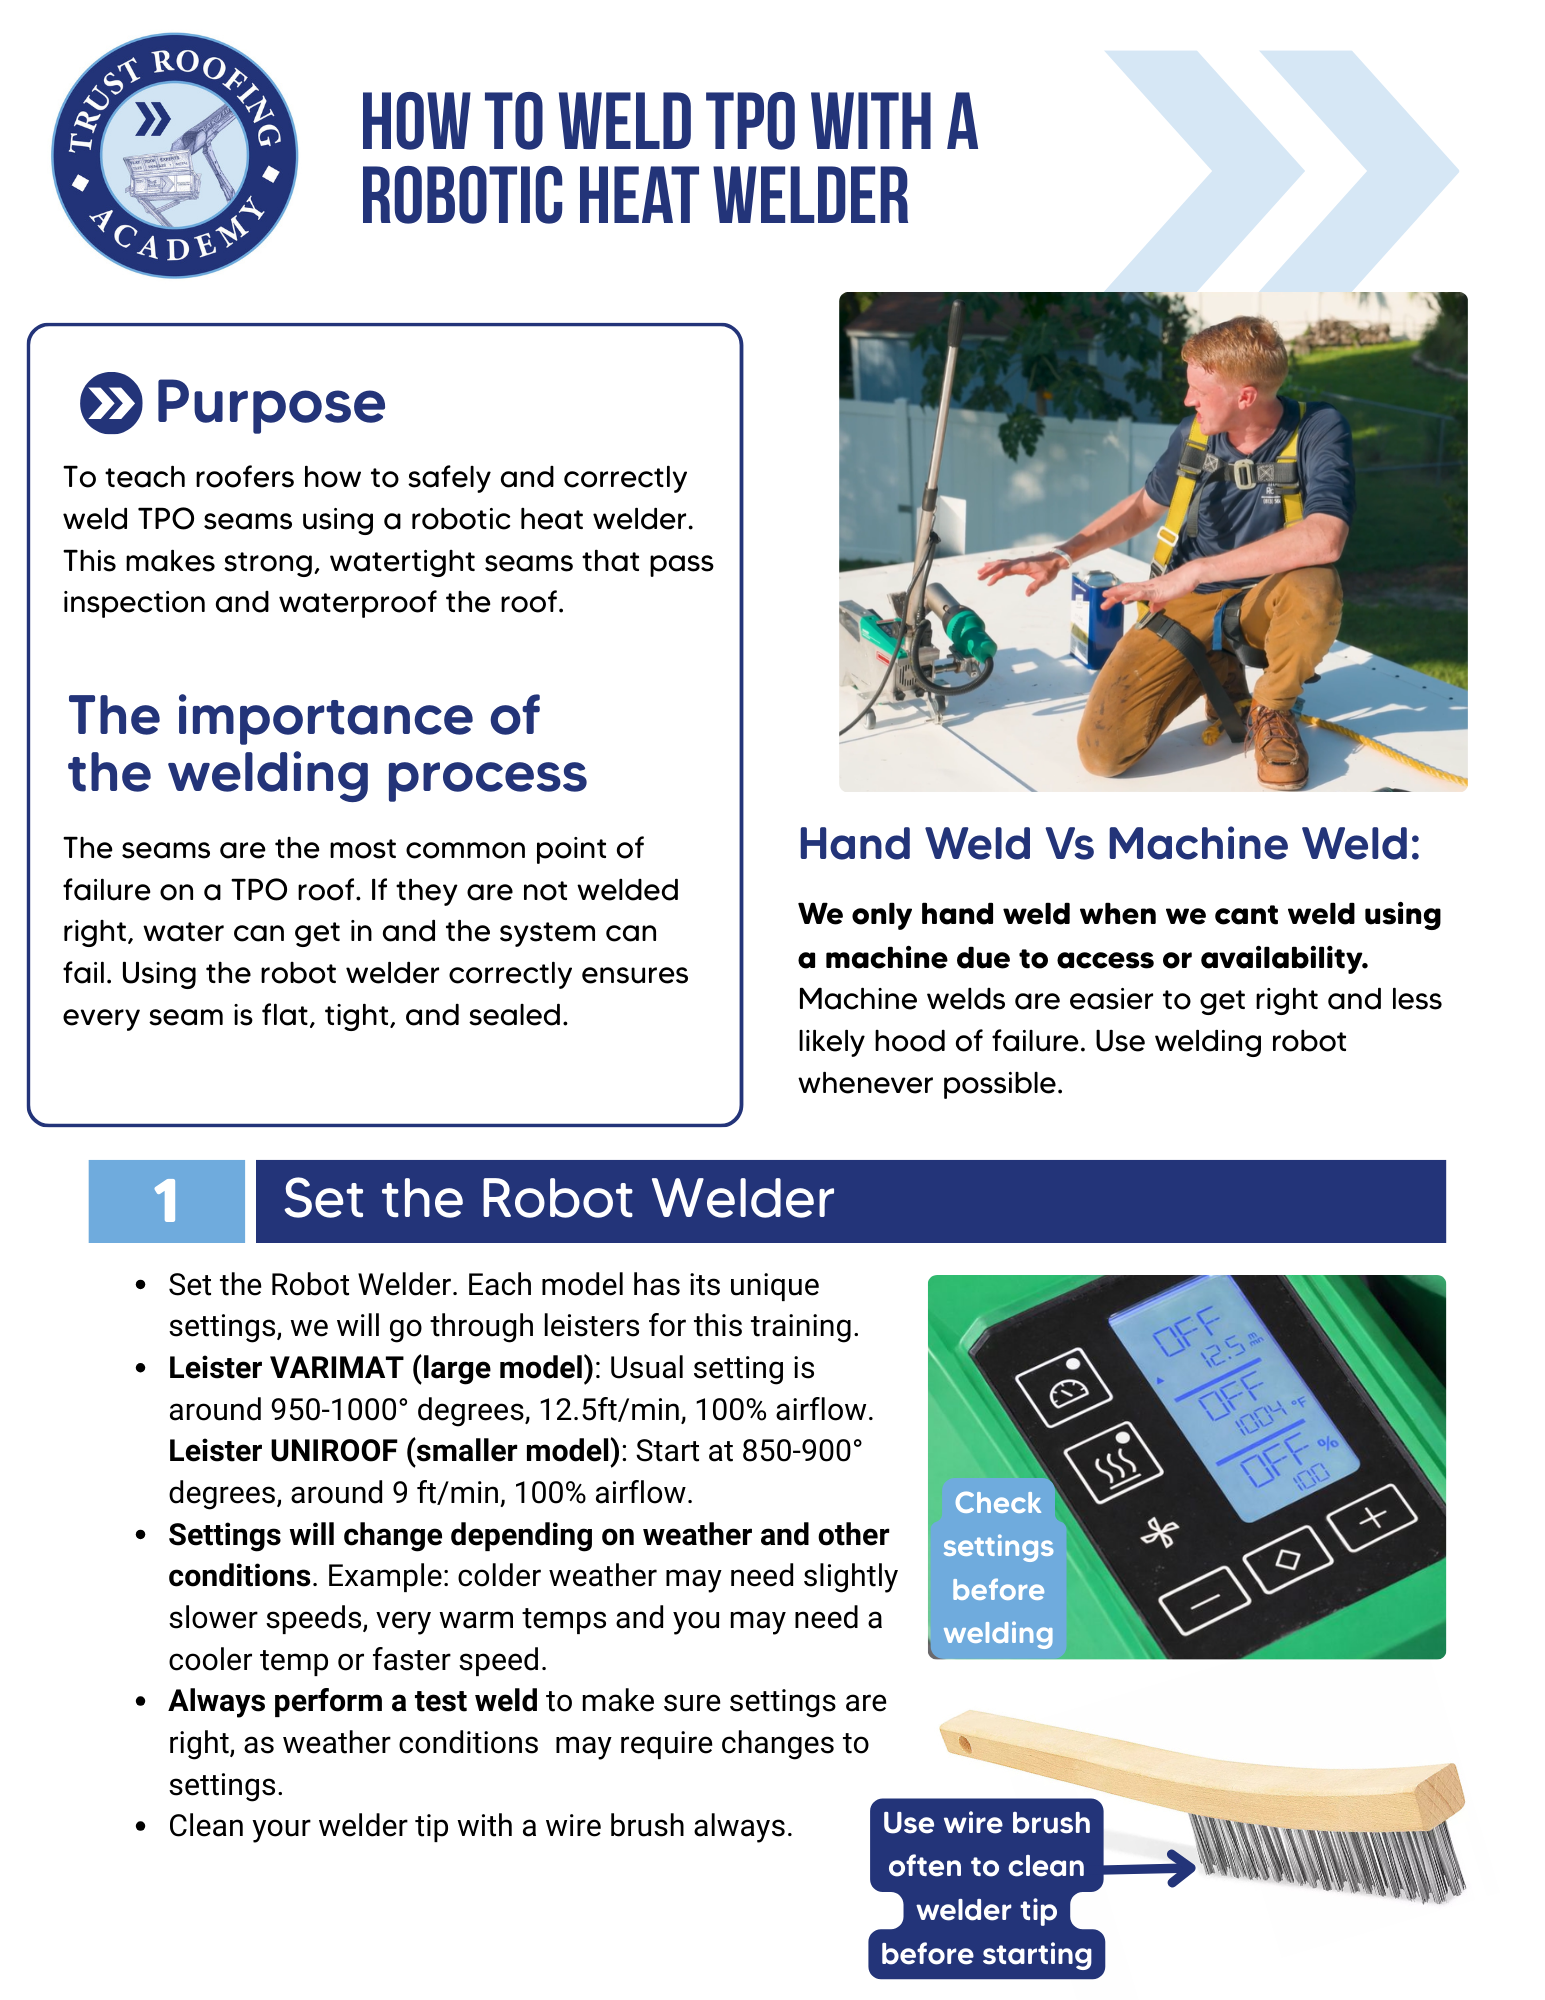
How to set up, run, and inspect a robotic hot-air welder for consistent, code-compliant TPO seam welds across the field of a flat roof.

Roofing work involves working at height and requires proper safety equipment and training. The information in this course is intended for educational purposes. Homeowners should consult a licensed roofing professional before attempting roof repairs or modifications.




Other Courses
Overview
Hot-air welding is what makes a TPO roofing system watertight. When done correctly, a robotic heat welder creates seams that are stronger than the membrane itself. When done incorrectly, seams fail — and a flat roof with failed seams will leak.At Trust Roofing, operating the robotic heat welder correctly is a required skill. This training covers how to set up, run, and inspect a robotic hot-air welder for consistent, code-compliant TPO seam welds.
Our Field Standards
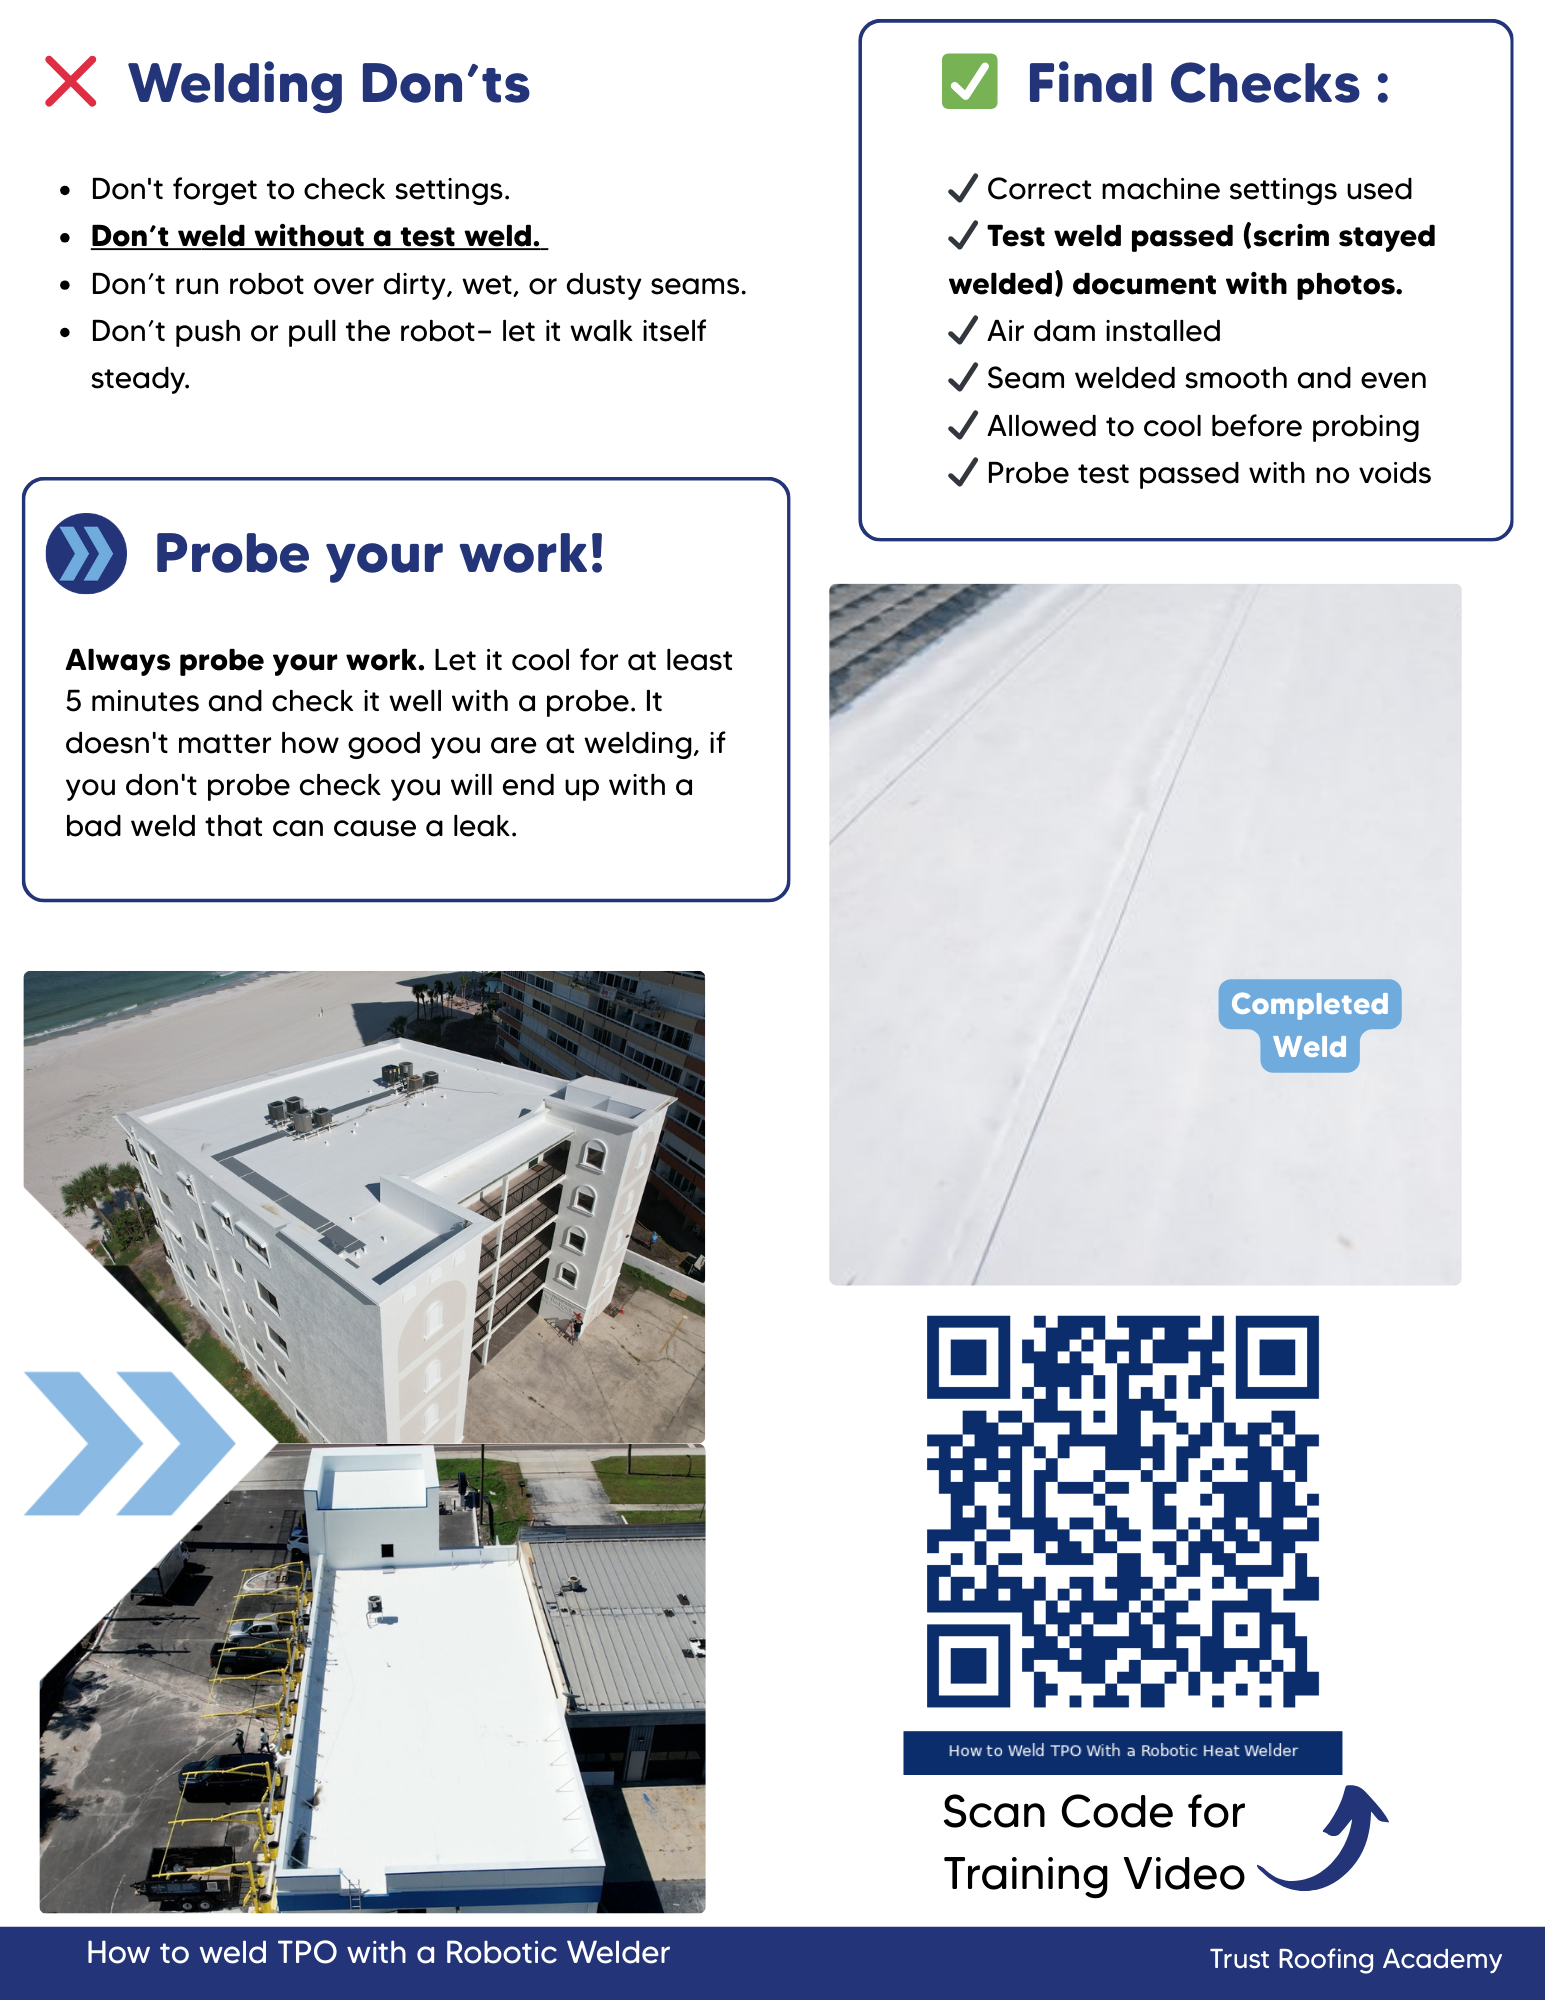
Robotic TPO welding follows Trust Roofing field standards.Field standards include:* The welder is warmed up and test welds are performed before any production welding begins* Weld temperature and speed are confirmed on a test seam before proceeding* The welder tracks along the seam without deviation — straight, consistent passes only* Weld width meets or exceeds the minimum specification — typically 1.5 inches* Every seam is probed after welding to confirm bond strength — no exceptions* Any failed or questionable seam is re-welded before moving to the next seam
Our Process
Setting Up the Welder* Allow the welder to reach operating temperature — typically 15 minutes* Perform a test weld on a scrap piece of TPO membrane* Check the weld width, bond strength, and appearance of the test weld* Adjust temperature and speed as neededUnderstanding Temperature and SpeedTemperature and speed work together:* Too fast or too cold: under-welded seam — will peel open during probing* Too slow or too hot: over-welded seam — membrane may wrinkle or burn through* Correct combination: weld edge shows a slight bead of melted materialRunning the Welder1. Align the welder nozzle precisely at the seam overlap edge2. Start the welder and allow it to build momentum3. Maintain a straight, consistent pass — do not wander from the seam line4. Keep the following distance consistent — do not stop mid-seam if possible5. Complete each pass to the end of the seam before stoppingPost-Weld InspectionAfter each seam:* Allow the weld to cool — typically 3 to 5 minutes* Probe the full length with a probe tool* Any area that lifts during probing is a failed seam — mark and re-weld* Document seams that required re-welding
Roofing Terms
Hot-Air Welding
The process of fusing two TPO membrane surfaces together using a stream of heated air, melts the thermoplastic material at the interface and creates a molecular bond stronger than the membrane itself when performed correctly.
Weld String
The thin bead of melted material that appears at the leading edge of a properly welded TPO seam, indicates that sufficient heat and pressure have been applied to create a complete fusion bond through the full seam width.
Probe Tool
A small blunt-tipped metal tool used to test TPO weld strength by inserting the tip into the seam edge, a properly welded seam resists penetration; a failed or cold seam allows the probe to slide in easily.
Florida TPO Product Approval
Florida Building Commission product approvals for TPO membrane systems specify minimum weld widths, fastener patterns, and installation procedures, deviation from approved methods voids the system’s Florida approval.
Cold Seam
A TPO weld that appears visually complete on the surface but has not achieved full molecular fusion due to insufficient heat, speed, or roller pressure, identifiable only through probing and a common cause of flat roof leaks in Florida.
Need more help?
We've built a library of resources for homeowners, property managers, and those looking for roofing help.
View Resources